
August 27th, 2019
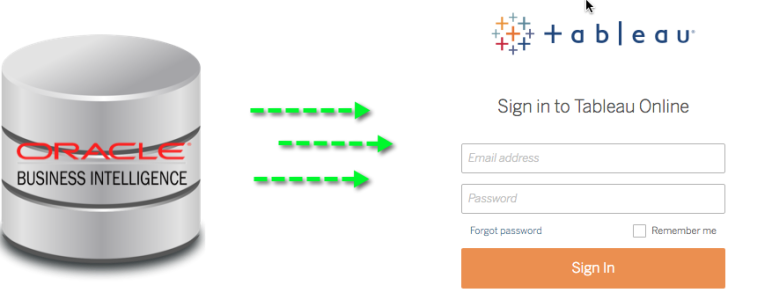
How to create Tableau Online dashboards for OBIEE data
Tableau Online is the cloud edition of Tableau and is gaining rapid popularity. A number of users have asked about how to use Tableau Online with OBIEE. In this blog, we will review:
- Use cases for combining Tableau Online with OBIEE using BI connector
- The advantages of Tableau Online + BI connector + OBIEE
- Step-by-Step instructions to sync OBIEE data to Tableau Online with BI connector
- Licensing information for using BI connector to publish OBIEE data to Tableau Online
Try BI connector Free for 30 Days
Use cases for combining Tableau Online with OBIEE using BI connector
Let us look at some use cases where customers are using Tableau Online to connect to OBIEE with BI connector:
- A leading Pharmaceutical company empowers its sales force with customer intelligence and sales analytics dashboards and reports from OBIA apps with its sales force.
- A globally distributed marketing team in a leading High Tech Company uses Tableau Online with BI connector to get day to-day marketing analytics information from OBIEE EDW data .
These organizations had the following requirements:
- Provide easy to use analytics to end users for OBIEE data
- Easy to access – via Cloud
- Easy to maintain – no server administration overhead
If you have similar requirements and , Tableau Online + BI connector + OBIEE would be a great combination.
The Advantages of Tableau Online + BI connector + OBIEE
Using Tableau Online to visualize and analyze OBIEE data with BI connector has several advantages:
- Maximizes value: More users access and extract value from OBIEE data
- Easy to use: End users get easy to use Tableau visualization and analytics
- Convenient: Analytics is easy to access; users need just a web browser for access; Self-Service BI
- Reduces Cost: Eliminates Tableau server and administration
- Reduces effort: Creating dashboards and reports requires less manual effort
Step-by-Step instructions to sync OBIEE data to Tableau Online with BI connector
1. Download, install, and configure BI connector in your PC with Tableau Desktop. Sign into Tableau online by going to Server -> Sign In -> Quick Connect to Tableau Online in Tableau Desktop.
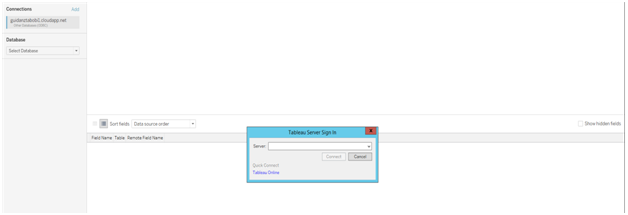
Connect to Tableau Online
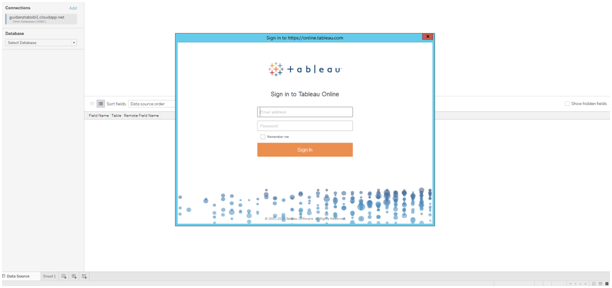
Sign in to Tableau Online
At this point your Tableau desktop is connected to Tableau Online.
2. Next, create your data source by dragging and dropping the tables from OBIEE subject area. Test the data by creating a worksheet. Refer to the step-by-step user guide if you need help.
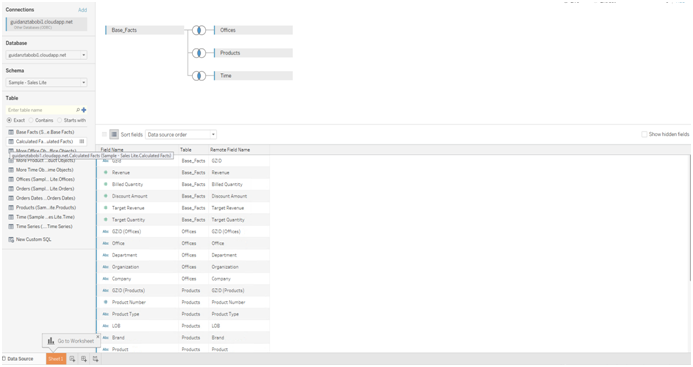
Create OBIEE data source in Tableau Desktop with BI connector
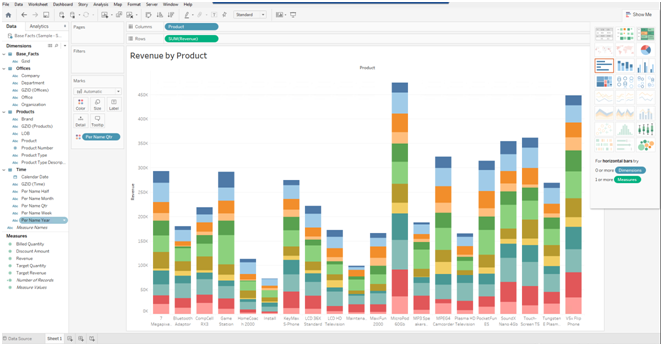
Create a report/worksheet with OBIEE data
3. After testing and validating the data, publish the data source to Tableau Online by going to Server -> Publish Data Source to Tableau Online. Choose the project on Tableau Online and the name of the data source you are publishing.
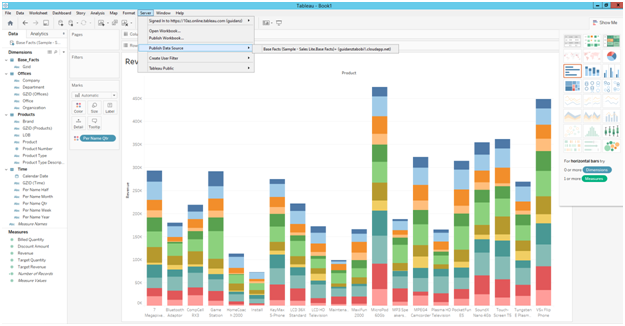
Publish OBIEE data source to Tableau Online
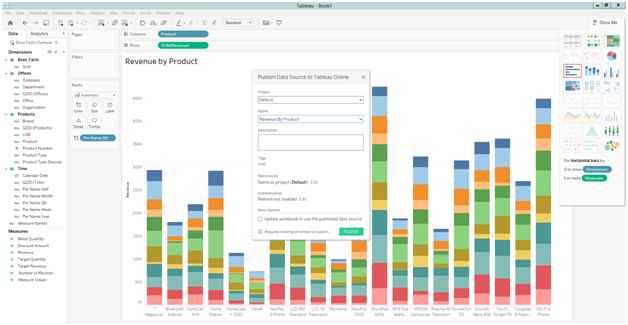
Choose Project in Tableau Online
4. Once the publishing starts the desktop will create an extract and publish the data source to Tableau Online. There will be a message about scheduling a sync using the Sync Client. Click on the button.
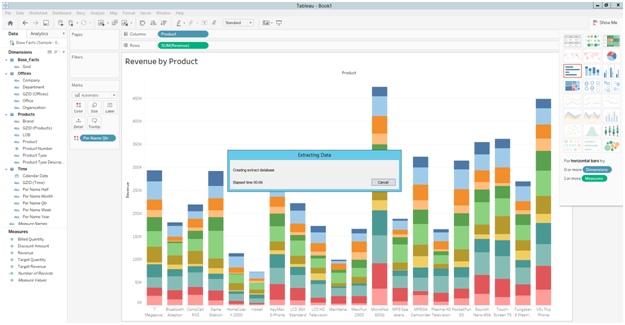
Extracting OBIEE data and publishing to Tableau Online
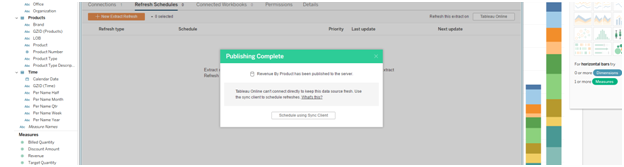
Schedule using Sync Client message
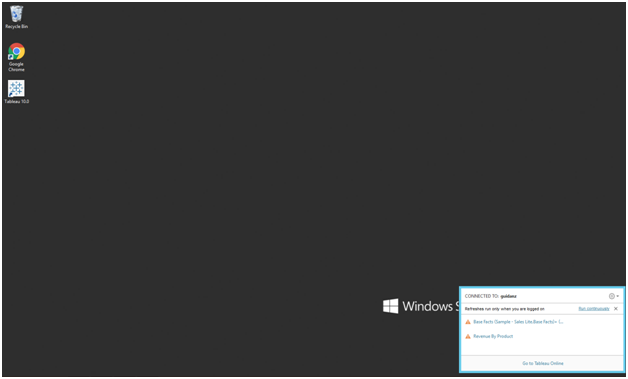
5. Once you set up the schedule you will see the refresh schedule under the data source in Tableau Online. This refresh will be running on a specific Tableau desktop machine where the sync client is running.
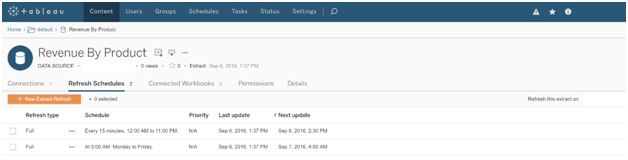
Tableau Online Refresh Schedule Page
6. Next go to the Tableau Desktop client machine where the sync will run. Go to C:\Program Files\Tableau\Tableau 10.0\bin. Double click on TabOnlineSyncClient.exe. This will run the Tableau Sync client on the system tray and open up the login page for Tableau Online. Enter your credentials for Tableau Online.
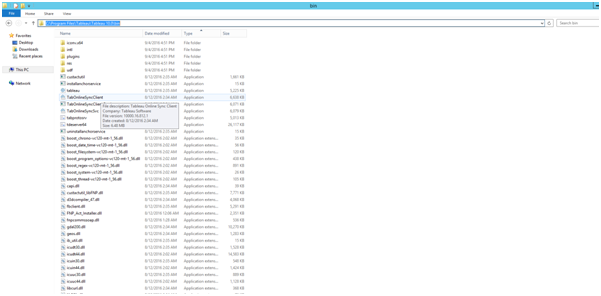
Launch Tableau Online Sync Client
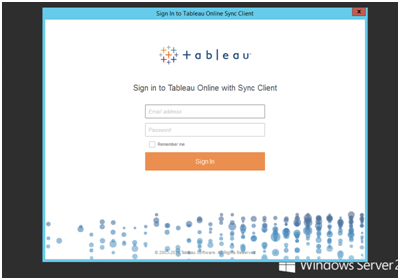
Tableau Online Login UI
7. Next step is to go the system tray on the bottom right corner of your computer and open the sync client. Here open the data source and enter the OBIEE credentials you want to use. This saves the OBIEE credentials into Tableau sync. At this point you can run the sync now and test the sync. You can click on the schedule and verify the schedule or change it as necessary.
Open Tableau Sync Client from System Tray
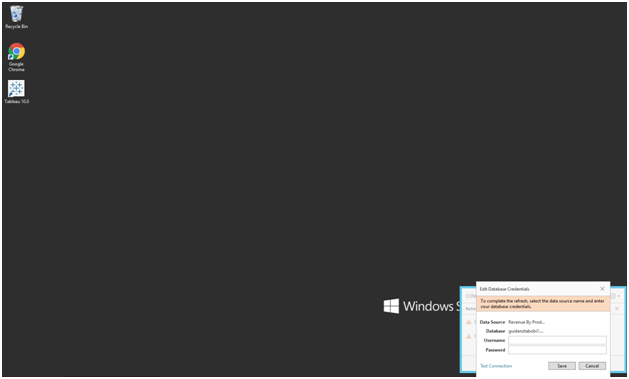
Double click on data source and enter credentials
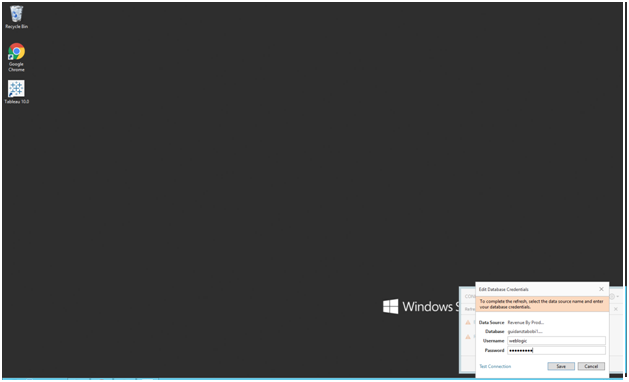
Enter OBIEE credentials
8. Now you are all set with syncing data from OBIEE to Tableau Online on a regular basis. Your Tableau Online users will now be able to see the latest data from their OBIEE system in Tableau online worksheets.
Licensing information for using BI connector to publish OBIEE data to Tableau Online
BI connector provides an easy and effective approach to visualize and analyze OBIEE data in the cloud with Tableau Online. We offer an attractive licensing model to help you reap the benefits of this approach. The following BI connector licenses are required to publish OBIEE data to Tableau Online.
- BI connector Desktop Edition licenses for the Report Developers, Power Users, and data Publishers.
- Subject Area connector:$240 per user per year
- Subject Area + Reports connector:$300 per user per year
- BI connector Online User licenses for all Tableau Online Users accessing OBIEE data
- A minimum of 25 Users
- Subject Area connector:$75 per user per year
- Subject Area + Reports connector:$105 per user per year
Free Trial: BI Connector for Tableau Online
See how easy and effective it can be to publish your OBIEE data to Tableau Online with BI connector.
Try BI connector Free for 30 Days